 |
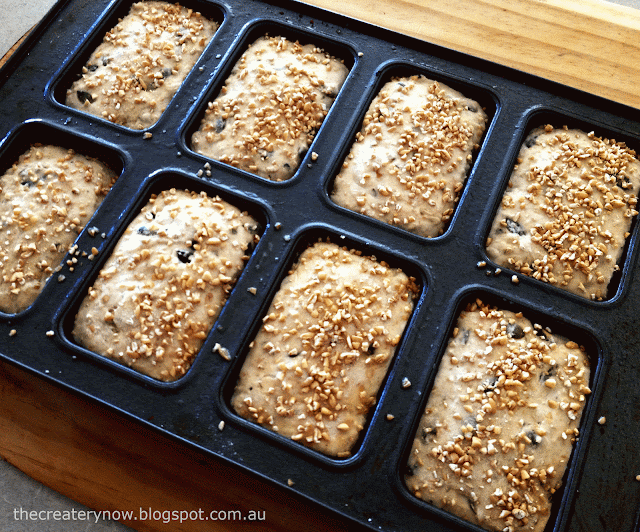
Mini loaves for school lunches |
Pepita seed are a great source of zinc, magnesium and other trace minerals. I use them in lots of bread recipes to add a bit of health. I put a whole mini loaf in both boys’ lunch boxes amongst other things and they can gnaw off them during their breaks.  |
| Food for humans and teddy bears |
They are also really
cute sliced and made into tiny little sandwiches for kids and teddies. Having a
family tea party with teddies is lots of fun for kids and is occasionally a favourite activity here in
this house.
Sour Dough Mini Loaves with Pumpkin
Seed and Cracked Wheat
8-12 mini loaves, depending to the size of tin you use.
Ingredients
5 dl cold water
¼ tsp dried yeast or 10 g fresh
1 dl sourdough starter
150 g cracked wheat
100 g pumpkin seeds/pepita
150 g wholemeal flour
650 g wheat flour
15 g of sea salt
Day 1:
1.
Soak the cracked wheat in cold water overnight. Once
soaked, drain water away.
2. Pour the 5 dl cold water into a bowl, add yeast
and sourdough and stir until dissolved. Add the salt and wholemeal flour and most
of the wheat flour; just hold a little of the flour back while you mix until
you are sure the dough can take more flour. Before you add the seeds - now is
the time to take a bit of the dough and put into your jar of sour dough starter
for next time. Add your soaked cracked wheat and the pumpkin seeds. Now you
need to stir and knead until the dough does not stick to the sides of the bowl
anymore. If you have a mixer this is easy – if you do it by hand it takes some
kneading... but don’t fret, it is actually quite therapeutic… or at least it
helps to think so. Keep going, your dough needs to be very elastic, which means
when you pinch it and pull, you should be able to pull a fair bit; it thinning
to almost see-through before it snaps. If not, knead 10 more minutes.
3. Brush your tin lightly with oil and place you
dough in it. Brush oil on a piece of cling film and cover your tin. Refrigerate
for 12 hours.
Day 2:
1.
Take your tin out of the fridge and let it sit
on the kitchen bench to “wake up” – prove a bit longer. I usually place mine in
a sunny spot to help it along. This can be anything from maybe half an hour to
say 6 hours depending on how strong your sour dough starter is. Once you are
happy with the state of your risen dough, put the oven to 200 degrees. Place an
empty baking tin in the bottom of the oven and when you put the breads in the
oven, throw a cup of cold water in the hot tin. The steam gives the bread that
crispy bubbly crust. Enjoy!
