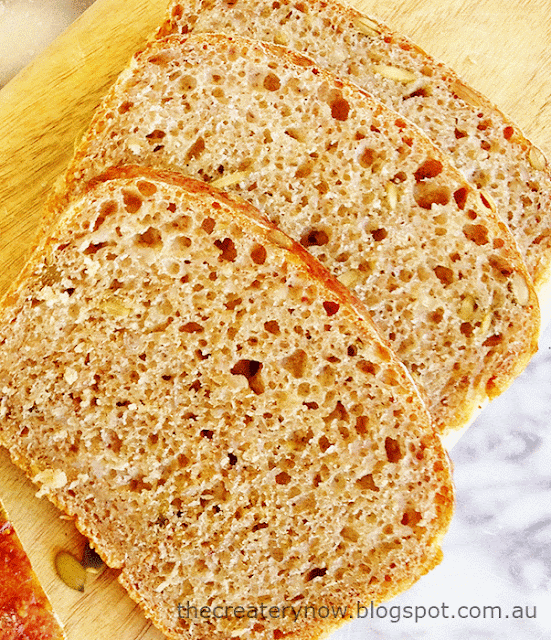
This bread with cooked buckwheat groats is soft and moist, perfect with butter, cheese and a cup of tea. It has a little
bit of wholemeal flour, which gives it more flavour and fibre. The pumpkin
seeds are nice and crunchy, but the buckwheat you hardly notice, it just adds a
nice mild flavour and gives it the moisture. And it is super healthy; it has been linked to
lowered risk of developing high cholesterol and high blood pressure.
Bread with Pumpkin Seed and Buckwheat
2 loaves:
Ingredients
5 dl cold water
¼ tsp dried yeast or 10 g fresh
1 dl sourdough starter
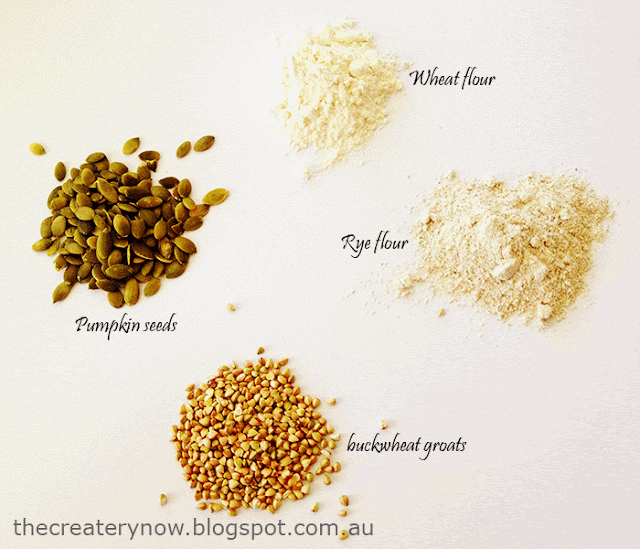
150 g whole buckwheat groats (kernels)
100 g pumpkin seeds/pepita
150 g wholemeal flour
650 g wheat flour
15 g of sea salt
Day 1:
1. You cook buckwheat like you cook your rice: add the
groats to a pot and pour cold water in the pot until the water level is approx.
2 cm above the groats. Cover with a lid and bring to the boil, turn heat down
and cook for a further 10 minutes. Now turn off the heat and let the pot sit,
lid on, until the buckwheat is soft and fully cooked.
2. Pour the cold water in a bowl, add yeast and
sourdough and stir until dissolved. Add the cooled buckwheat groats and the
pumpkin seeds. Add the wholemeal flour, the wheat flour and salt. Now you need to
stir and knead until the dough does not stick to the sides of the bowl anymore.
If you have a mixer this is easy – if you do it by hand it takes some
kneading... but don’t fret, it is actually quite therapeutic… or at least it
helps to think so. Keep going, your dough needs to be very elastic, which means
when you pinch it and pull, you should be able to pull a fair bit; it thinning
to almost see-through before it snaps. If not, knead 10 more minutes.
3. Brush a bowl lightly with oil and place you
dough in it. Cover with cling film and refrigerate for 24 hours.
Day 2:
1. Carefully pour your dough onto a flour dusted
kitchen table. Cut it in two and shape into your desired loaf shape. You can
also put you dough into oiled bread tins if you prefer. Cover them with cling
film,which you also brush with oil to avoid it sticking to your dough. Let
them prove for a couple of hours.
2.
If you don’t have them in tins, but want to bake
them on a tray and if you have a baking stone put it in the oven to heat. Heat
the oven to 220 degrees. Once very hot, carefully push the breads onto the
baking stone – or just put your tins in the oven. I always have an extra empty baking
tin heating at the bottom of the oven and when I put the bread in the oven, I
throw a cup of cold water in the hot tin. The steam gives the bread that crispy
bubbly crust – delicious!


